Product Care & Rewax
HOW TO REWAX A FILSON JACKET
HOW TO REWAX YOUR FILSON ITEM AT HOME
You can extend the lifecycle of your Filson jacket or accessory by rewaxing them at home. We suggest using our Oil Finish Wax which you can purchase here, while following our step by step guide below.
Why Rewax?
Rewaxing jackets is essential to restore their water-resistant and windproof properties. Over time, the original wax coating wears off due to exposure to rain, snow, and general use, reducing the jacket's ability to repel moisture and protect against the elements. Rewaxing helps maintain the fabric's durability, extends the life of the jacket, and preserves its rugged look and functionality, especially in harsh outdoor conditions.
For best results, re-wax your garment at least every two years under normal use
Hard use such as working in mud or having the garment in heavy rains often will require more frequent re-waxing. A good indicator that it may be time to re-wax your garment is the fabric being significantly lighter in color or when water fails to bead on the surface.
Why Wax your Gear With Filson Oil Finish Wax?
Our waxed cotton clothing and bags are built for years of rugged use in the great outdoors. When re-waxing is needed, use only Filson’s Original Oil Finish Wax. It has a proprietary blend of paraffin wax and softening oils that are an exact match for the original factory-applied waxed finish. Do not be tempted to use beeswax or other waxes, as they will not blend with the existing wax in the fabric, and do not create the surface tension required to maximize water resistance.
What you’ll need:
• Heat Gun or Hair Dryer
• Filson's Original Oil Finish Wax
• Brush for dirt
• Gloves (optional)
• Paper towels or shop rags
• A blanket or towel

STEP 1
Lay clean garment on a flat surface
A shop table covered in a blanket or towel will give you room to work.
STEP 2
Clean all dirt and debris from garment.
Waxed cotton can be hosed off and allowed to dry at room temperature before re-waxing. If dirt is dry and caked onto the garment, a stiff nylon-bristled brush works well to remove the debris. Be sure to pay special attention to the seams as these areas can trap mud and dirt.

STEP 3
Working at room temperature, apply and even coat of wax to the fabric
One technique that works well is to cover the surface with dots of wax, then rub them in a circular pattern until they are all blended. Being intentional to spread the wax evenly at this stage will make the resulting finish much more uniform.

STEP 4
Use a heat gun (or hair dryer) to melt the wax into the fabric.
Keep the heat gun moving slowly, working over the entire surface. The wax will turn shiny as it liquefies, and will disappear as it soaks into the fabric. Another option if a heat gun or hair dryer is not available is to hang the garment in the sun and let it "bake" for several hours. This method may provide a more flexible finish due to less evaporation of wax's oils.
Heavy-use areas, especially at the seams, can benefit from occasional touch-ups. Under extremely heavy use, areas of the garment subject to abrasion and flexing can lose some of their finish, and therefore some of their water repellency.
If applied too heavily, wax will not absorb.
If this happens, continue to apply heat, take a paper towel or a shop rag and wipe off the liquefied wax. This will remove the excess and redistribute it into areas into which it can absorb, with no harm done to the garment.

Rewaxing Tips and Tricks
• Apply Filson wax at room temperature for even distribution.
• If a heat gun isn't available, you can use an iron to melt the wax into the fabric after application.
• If neither a heat gun nor an iron is available, hang the item near (but not too close to) a wood stove, heater, or place it in direct hot sunlight.
• For a softer finish, apply heat gradually when melting the wax, as this prevents excessive oil evaporation and maintains the fabric's pliability.
RECOMMENDED CARE FOR MACKINAW WOOL
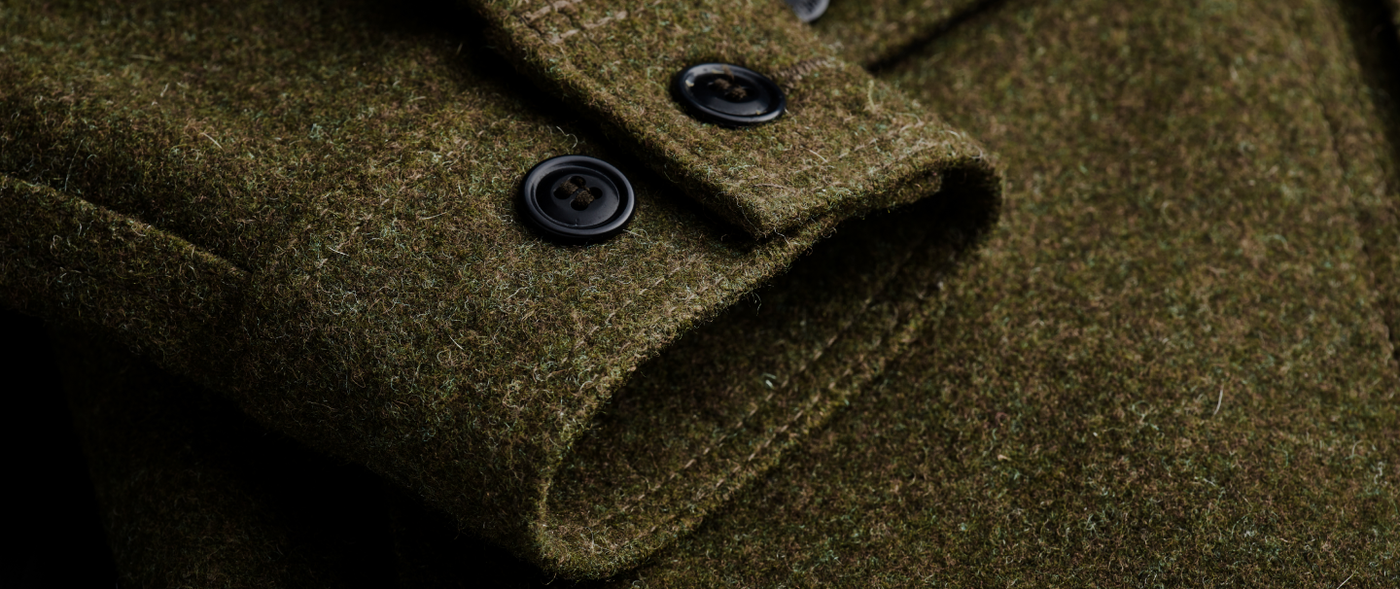
One of the wonderful attributes of Mackinaw Wool is that the same physical characteristics that make it perform so well in cold, wet weather also make caring for it an easy, trouble-free process. Below are guidelines for maintaining your Mackinaw Wool that will help maximize its performance and longevity.
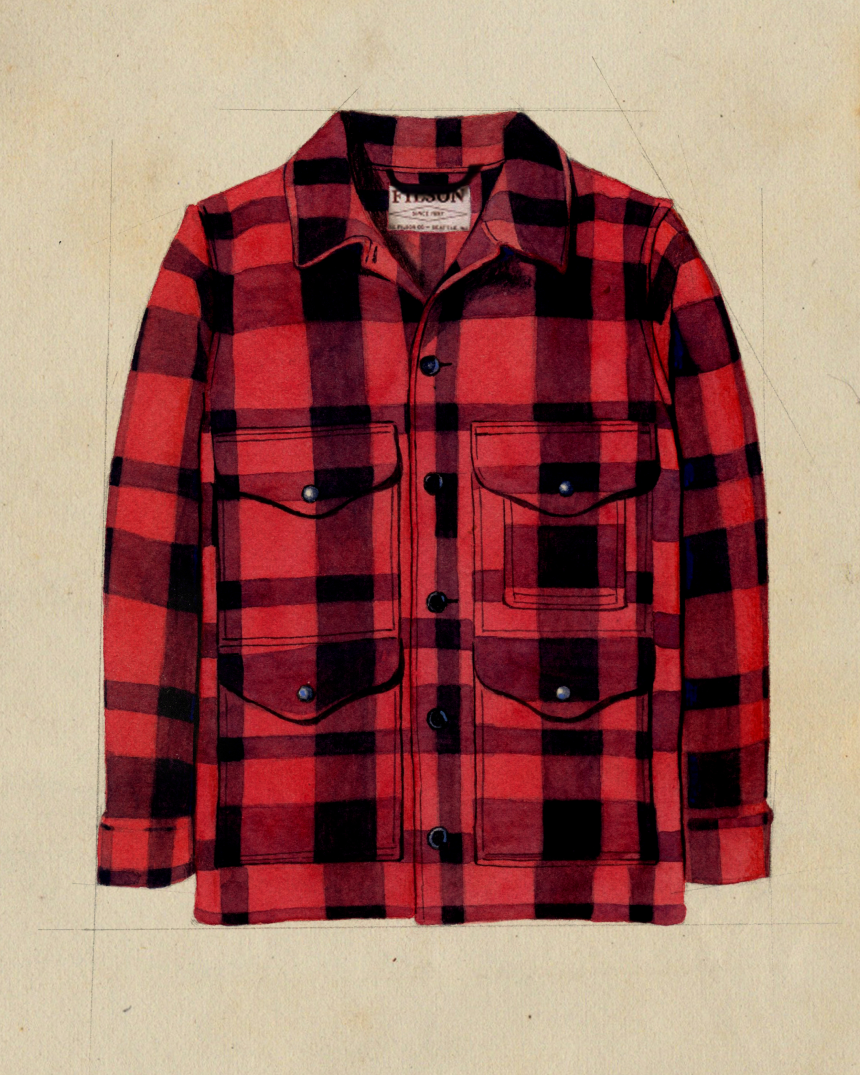
MAINTAINING MACKINAW WOOL
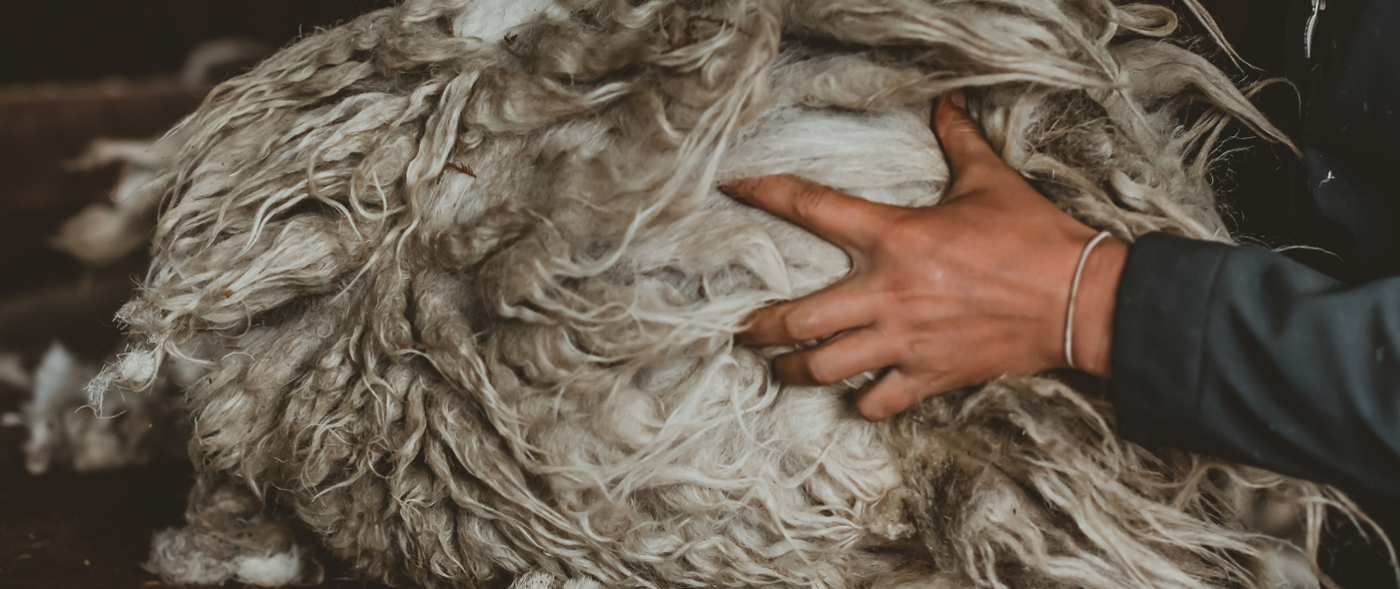
Wool’s complex fiber structure consists of tiny filaments sheathed in a layer of overlapping scales that are coated with lanolin, a natural waxy substance that helps repel water. This structure also helps keep particles from adhering to the fibers. Much like on a non-stick frying pan, foreign particles are able to release from wool fibers with ease. When your Mackinaw Wool gets mud or dirt on it, allow it to dry completely, then gently scrub off with a medium-stiff nylon brush. The dried dirt simply pops off the wool, leaving no trace that it was there.
Many odors, such as campfire smoke, can be removed from Mackinaw Wool by tumbling it in a warm dryer for an hour. This process causes the tiny, odor-carrying particles to release from the wool, leaving it fresh and odor-free. The wool should be completely dry before tumbling it in the dryer, otherwise it will shrink.
We recommend drying Mackinaw Wool at room temperature. Some folks will hang it by a wood-burning stove, but caution should be used when doing so. Too close, and it can scorch, and the more heat is used, the more your wool will shrink. If wool is stored away while damp or wet, mildew or mold can begin to grow. If this happens, dry cleaning is the only cure.
DEEP-CLEANING YOUR WOOL
Sometimes a deep-cleaning is required to remove oil stains from Mackinaw Wool. Dry cleaning is the only process we recommend for this—washing with soap and water will result in shrinkage, even if it’s air-dried afterward. Dry cleaning should be performed minimally, as the chemicals used will strip some of the lanolin from the wool. Since it’s so easy to remove dirt and odors from Mackinaw Wool, professional dry-cleaning is rarely required.
PREVENTING MOTH DAMAGE
Preventing moths from chewing holes in your wool is an easy process that requires a bit of planning, but very little effort and investment. Moths are only active during warm-weather months, so properly storing your Mackinaw Wool before the summer is the best way to prevent moth damage.
Moths do not have an affinity for the taste of wool—they are attracted to odors trapped in it. The processes described above for removing odors will help to prevent moth damage–tumbling in the dryer, or dry-cleaning if absolutely necessary. After removing any odors, cover your wool with an inexpensive, breathable-cloth bag before hanging it up for the season. For an additional layer of protection, put some cedar chips in the bottom of the bag—cedar has an odor that moths dislike. Alternatively, closet space can be saved during the summer by storing your (de-odorized) wool in a plastic tote with a tight lid. The tote can be stored in the garage, but you’ll want to make sure no mice or other critters can get to it.
THE BOTTOM LINE
Mackinaw Wool has been our most-trusted cold-weather protection for over a century, and these easy-maintenance tips will ensure yours provides reliable service for years to come.
 shop mackinaw wool